
Member Help
Introduction
The RamaOnHealthcare Platform allows you to curate your own content. By registering and logging into the system, you have a set of powerful tools to quickly find, organize, and share relevant content to your organization’s teams, clients and partners.
Security and Privacy
Your security and privacy is important to us. We provide privacy controls and indicators so that you can control what content is public or private. We provide account security options to protect your password and account information.
Privacy Controls and Indicators
We provide controls and visual indicators to allow you to make your content public or private.
You may make your member page public or private from the Preferences screen. Please see the Preferences section for more information.
Account Security
We use best practices to protect your password from theft, including providing Single Sign-On with Google, Twitter, and LinkedIn, encrypting your password in our database in case there is a security breach, and protecting your password against automated means of trying to guess your password.
With Single Sign-On with Google, Twitter, and LinkedIn, you do not even have to register with a password with us. Google, Twitter, and LinkedIn takes care of the registration.
Please see the Registration and Login section for more information about registering and logging into the system.
Registration and Login
Registration and Login includes being able to use Single Sign-On (SSO) services or providing a password. We also provide options if you forgot your password if you registered with a password.
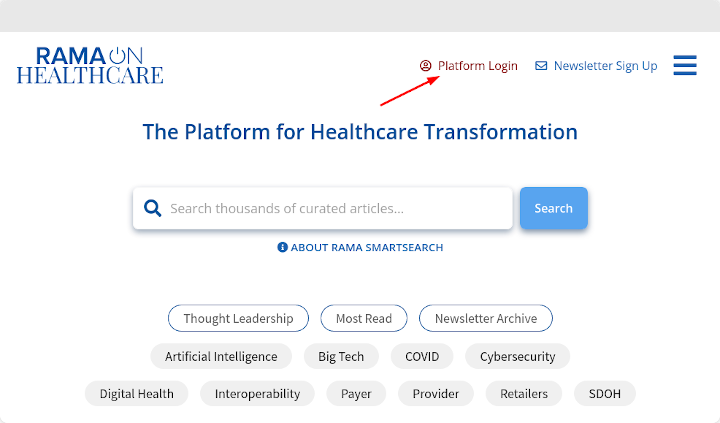
To start the registration process, first click the “Platform Login” link in red near the top right of the RamaOnHealthcare website.
Click the login link to register and login to the RamaOnHealthcare Platform
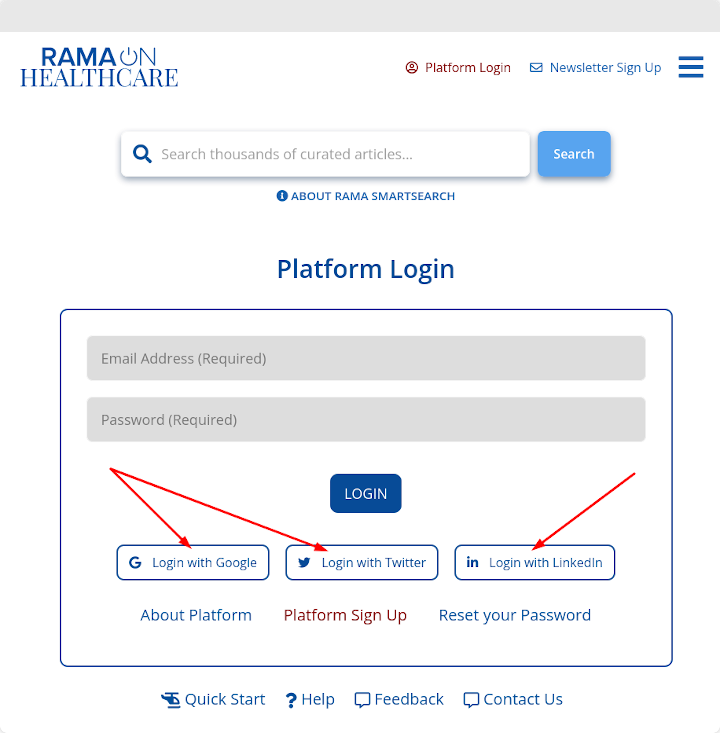
On the login screen, you may bypass the registration step by using your Google, LinkedIn, or Twitter account. Click your choice of registration to automatically register and login to the system with your Google, LinkedIn, or Twitter account information.
Quickly register and login with your Google, Twitter, or LinkedIn account
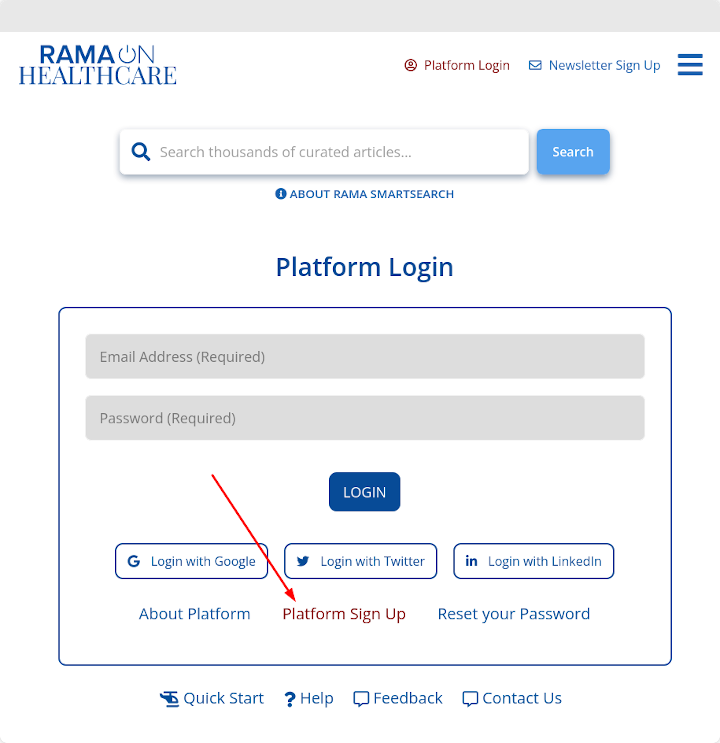
Optionally, you can begin registering with your email address by clicking the “Platform Sign Up” link at the bottom of the Platform Login screen.
Optionally, click the “Platform Sign Up” link to register with a password
Registration
You will need to register to start using the RamaOnHealthcare platform. You will need to provide your email address, full name, and password.
If registering with the system with an email address and password, you will need verify your email address. An email will be sent with a link to verify your account. If you do not receive the email with a few minutes, check your spam folders. If you still do not see an email, please contact us from our contact form.
Failure to correctly verify your account will cause your IP to be blocked. If this is the case, please contact us from our contact form for assistance.
You may change your email address after registering with the system. You will not need to verify your email address again. However, to use a Single Sign-On provider, your email address will need to be the same as your Single Sign-On provider.
Registering too many accounts from the same IP address will cause your IP address being blocked from registering accounts. Please contact us from our contact form if your IP address is blocked from registering too many accounts.
Login
If you registered with a password, you will need to enter your email address that you registered with the system and your password. To prevent hackers from using automated systems to steal your password, you are limited to guess your password5 times every 15 minutes.
If you registered with Single Sign-On, you will need to use the Single Sign-On provider you used to register with the system.
You may switch providers if your email address is the same without any issues. If you registered with an email address and password and you used the same email address as your Single Sign-On provider, you may alternatively use that Single Sign-On provider without any issues.
If you forgot your password, you may click the “Reset your Password” link. Then, you may enter your email address and click the “Send Password” button to have a new password emailed to you.
Member Dashboard
The member dashboard is where most platform functions are performed.
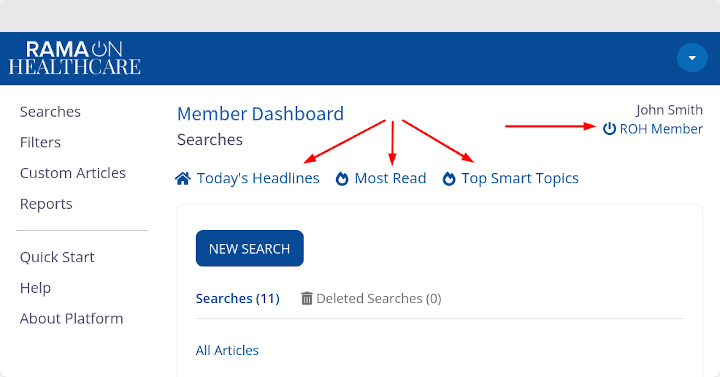
Your name and a link to your RamaOnHealthcare Member Page is shown near the top right area of the screen.
Convenience links are provided near the top of the screen for finding articles from the RamaOnHealthcare home page, most read articles, and top smart topics.
Convenience links to find articles and view your member page
Convenience links are provided at the bottom of the screen for the quick start guide and this help system. A convenience link to provide feedback and request help with the RamaOnHealthcare platform is also at the very bottom.
The middle of the screen is where you will be able to perform various dashboard functions accessed from the dashboard menu and the account menu. The searches screen is shown by default.
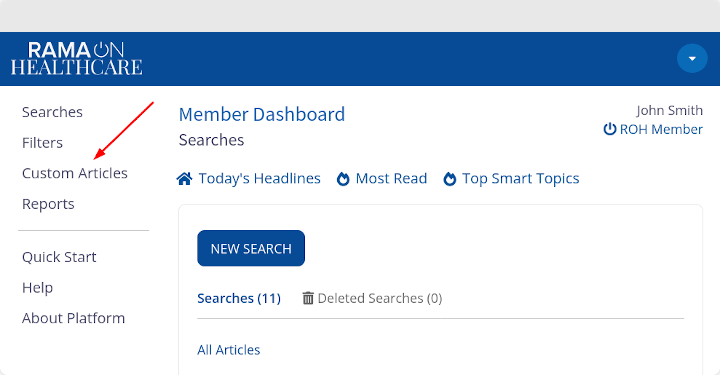
Dashboard Menu
The dashboard menu appears in the left area of the screen when using a desktop computer with a full screen.
Desktop dashboard menu
If you are using a mobile device with a smaller screen width, you can click the three horizontal bars, also known as an hamburger menu icon, at the top left corner of the member dashboard.
Mobile dashboard menu

The dashboard menu allows you to create, edit, view, and delete searches, filters, custom articles, and reports. It also provides links to the quick start guide and to this help system.
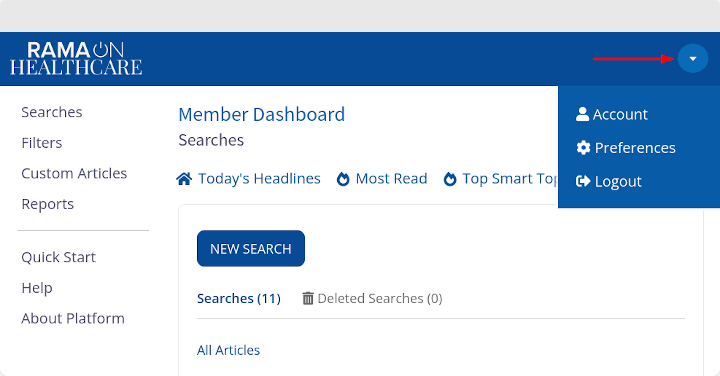
Account Menu
The account menu is located at the top right of the dashboard. It appears as a down arrow in a circle. The account menu allows you to change your account settings, preferences, and logout from the system.
Account menu
Account Settings
Your account settings include required account settings, additional information about you, and the ability to delete your account.
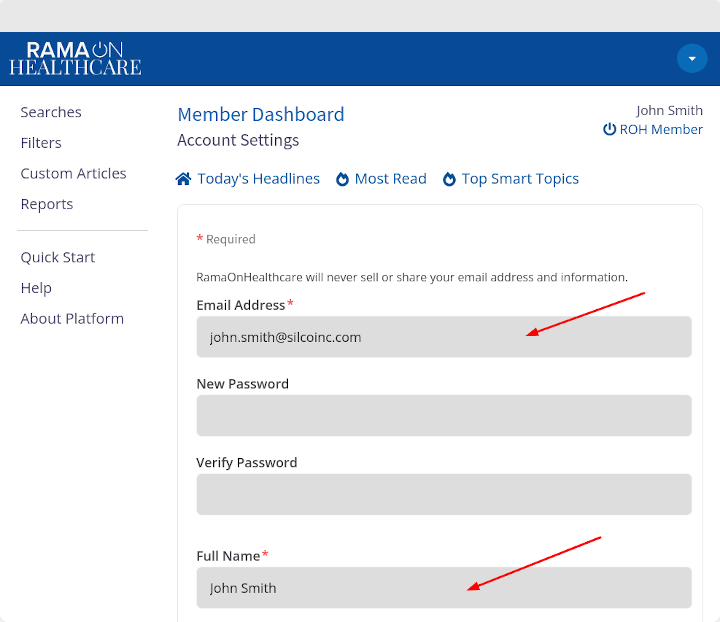
Required Account Settings
Required account settings include your email address and full name.
Your email address is used to identify you when logging in with a password or with a Single Sign-On account.
Your name is used to create a link for your account and is shown on your member page, member reports, and custom articles that you may create.
Caution: If you use SSO, and you change your email address, you will need to use a SSO account that has your new email address verified. Otherwise, you will need to set a password for your new email address.
Required account settings
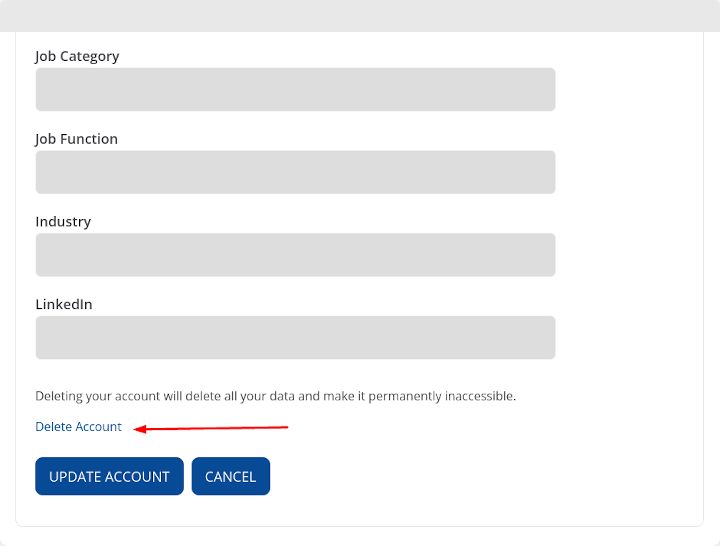
Additional Information
Here you may provide your organization name, job title, and LinkedIn account to share with members of your organizations and partners.
Additional information may be provided by your to help us provide better content and services for you. This information is only used for statistical purposes by us.
Delete Account
Your account settings also allows you to delete your account by clicking on the “Delete Account” link on the Account Settings page. A dialog will show to confirm this action. This action is permanent and can’t be undone if you confirm to delete your account.
Delete account from account settings
Preferences
Member Page
Your account link is how you may access your member page, member reports, and custom articles. Your link uniquely identifies your account with a “slug”, which is your hyphenated name by default. If your slug is already in use, a number will be added to the end of your slug. You may change the slug for your purpose.
Changing your member page link
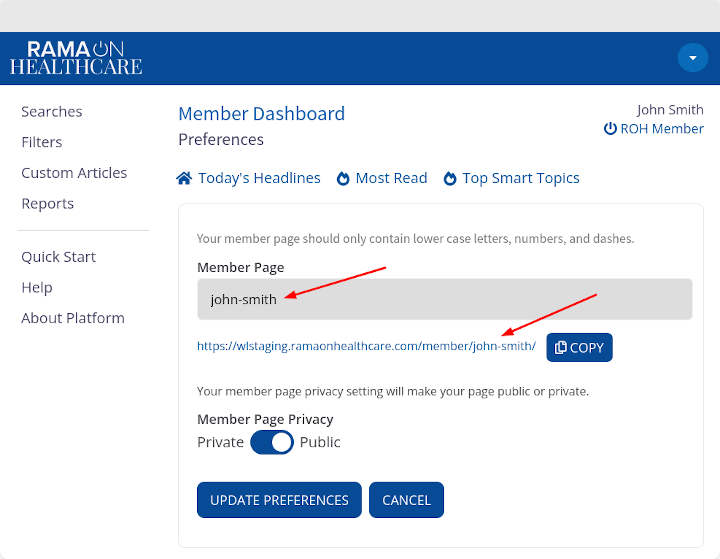
Member Page Privacy
You may choose to make your member page public or private by default. If it is public, anyone can see your member page and your public reports. If it is private, nobody can see your member page.
If your member page is private, you may still create public reports or public custom articles that anyone can see if you share these reports and custom articles directly with other members.
Curating Content
After logging in to RamaOnHealthcare Platform, you may curate RamaOnHealthcare content from anywhere on the RamaOnHealthcare website where articles are shown. You may add headlines from the home page to your reports, search results, articles from the most read page, and results from topic filters. You may add articles from your own reports and the public reports of other members. Finally, you may also add your own custom articles.
Each article will have three dots to the right that you may click to add the article to your reports. After clicking the three dots, you will see a list of reports that you may add the article. Clicking on a report name will add the article to that report. When an article is added to a report, a number will appear on the 3 dot menu, indicating how many reports you’ve added the article. You may add an article to multiple reports.
If the article is already added to a report, you will see a green icon after the report name. Clicking the report name will allow you to remove the article from the report.
Curating content from RamaOnHealthcare
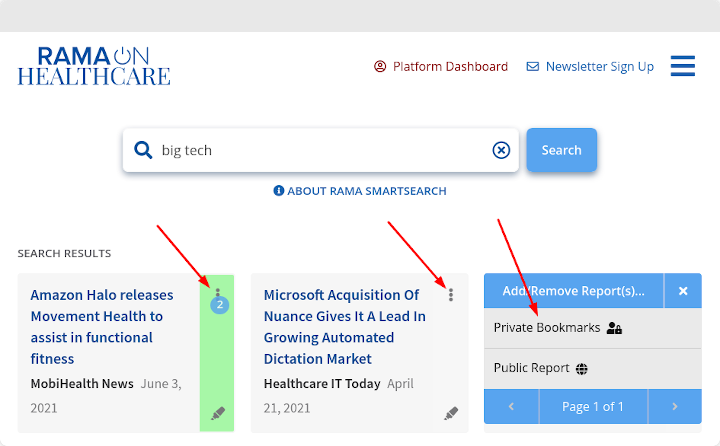
Your account is created with two default reports. One is called “Private Bookmarks”. This is a private list that only you can see. The other report is called “Public Report”, which is a public report that anyone can see.
Your own custom articles will be indicated by a public or private icon next to the article. Member provided content will be indicated by a network icon next to the article. When adding member provided content from another member to a report, the member provided content will be duplicated and saved in your account under custom articles. RamaOnHealthcare provided content will not have an icon.
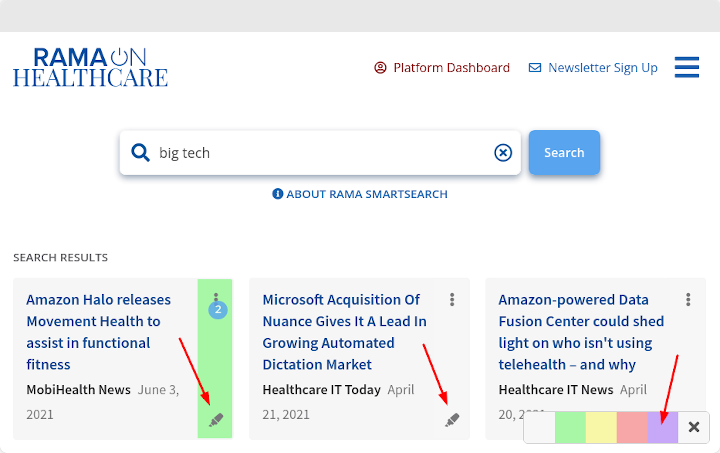
You may also click the magic marker icon under the three dots and select a color to color-code your articles to assist you in curation. Color codes are only visible to you.
Color coding articles
Member Pages
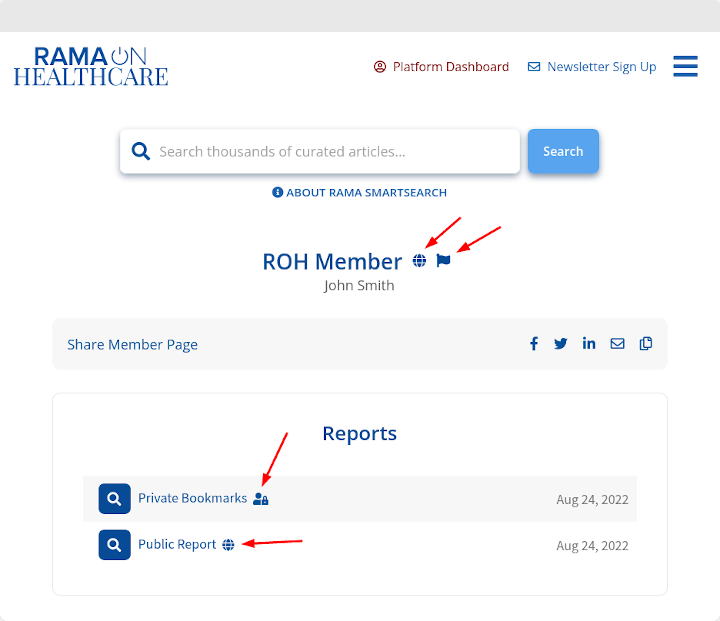
When viewing your own member page, you will see all your public and private reports.
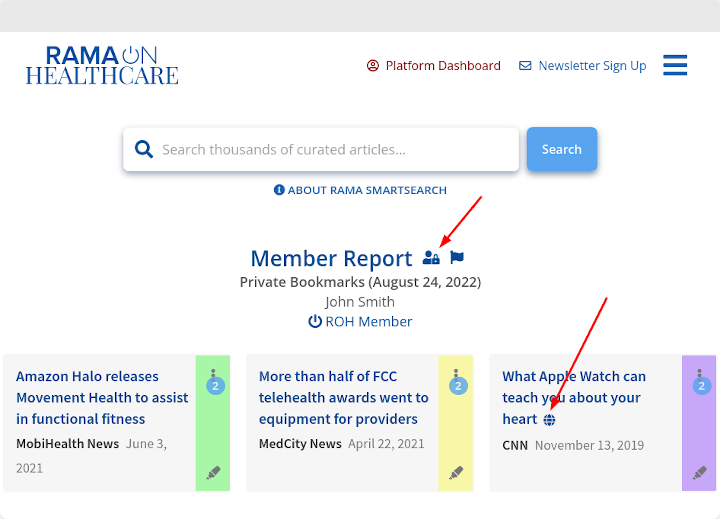
A globe icon indicates that a member page or report is public. An icon with a person and lock indicates that a member page or report is private. You will also see a flag at the top of member pages and reports to report inappropriate content.
Privacy icons on member page and flag icon to report inappropriate content
Custom articles also have a public or private icon on report pages and indication it is member provided content when viewing the custom article. There is also a flag icon to report inappropriate content when viewing a custom article.
Privacy icon for custom articles in member reports
You will only be able to see another member’s page if it is public. When viewing other member pages, you will only see their public reports.
You may wish to share your member page to your organization’s teams, clients, or partners by email or through a social network.
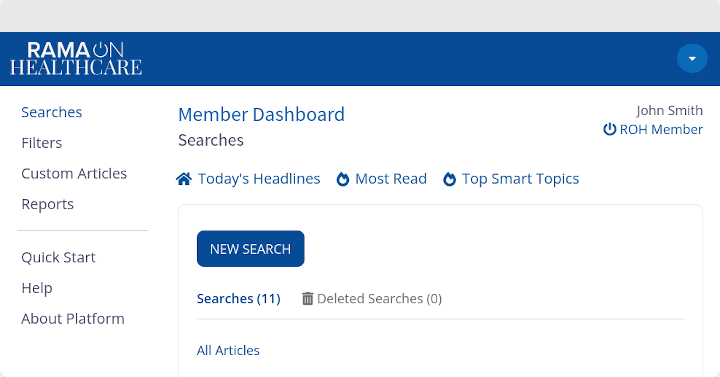
Searches
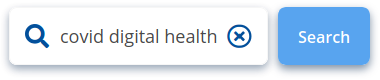
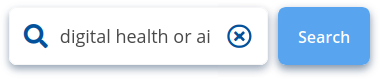
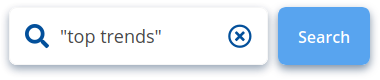
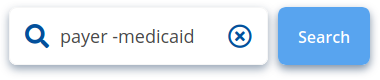
The RamaOnHealthcare platform allows you create and save custom searches. Searches find the most relevant content for a topic using Rama SmartTopics. Rama SmartTopics will search articles titles for the keyword and related industry keywords.
Use searches to find highly relevant content
Saving searches is recommended, especially if you intend to create complex searches that will search for multiple topics.
Your account is provided with a number of searches covering popular topics for different industries.
Tap on a search name or hover over the search name with your mouse or other pointing device to see a menu of options for each search.
You may view, edit, or delete a search.
Deleting a search will send it to the “Deleted Searches” tab at the top of the list. You may click the “Deleted Searches” tab. When you tap or hover of the search name in the tab, you have the option to restore or permanently delete the search. You may also click the “Empty Trash” button at the bottom to delete all the searches in this tab.
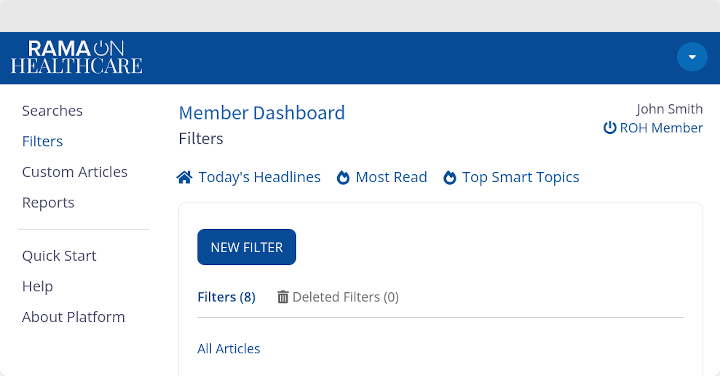
Filters
The RamaOnHealthcare platform allows you create and save custom filters. Filters provide broader searches using human-vetted categorization of content. Since there are many filters, it is recommended to save filters so that you don’t have to drill-down into our topic tree found at the bottom of our the home page.
Use filters to find more broadly related content
Your account is provided with a number of filters covering popular topics for different industries.
Tap on a filter name or hover over the filter name with your mouse or other pointing device to see a menu of options for each filter.
You may view, edit, or delete a filter.
Deleting a filter will send it to the “Deleted Filters” tab at the top of the list. You may click the “Deleted Filters” tab. When you tap or hover of the filter name in the tab, you have the option to restore or permanently delete the filter. You may also click the “Empty Trash” button at the bottom to delete all the filters in this tab.
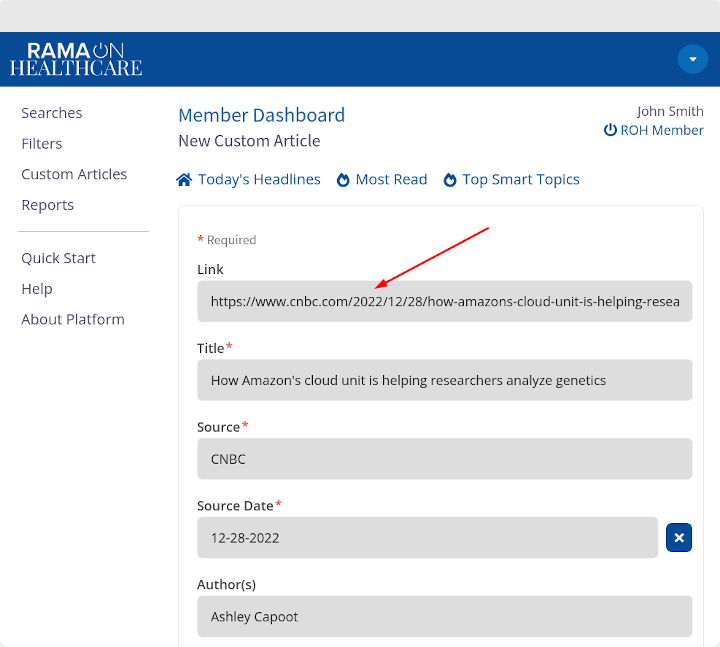
Custom Articles
You may add your own custom articles to share and add to reports.
Copying and pasting a link to an article will try to fetch other information about the article, such as title, source, author, publication date, and an excerpt.
Copy and paste a link to an article to grab all the related information for an article
Tap on a custom article name or hover over the custom article name with your mouse or other pointing device to see a menu of options for each custom article.
You may view, edit, or delete a custom article. You may also add or remove the custom article from reports or copy the link for sharing the custom article.
Deleting a custom article will send it to the “Deleted Custom Articles” tab at the top of the list. You may click the “Deleted Custom Articles” tab. When you tap or hover of the custom article name in the tab, you have the option to restore or permanently delete the custom article. You may also click the “Empty Trash” button at the bottom to delete all the custom articles in this tab.
You may also click the magic marker button next to the custom article title and select a color to color-code your custom articles to assist you in curation. Color codes are only visible to you.
A privacy icon will appear next to the custom article title to let you know if it is private or public.
Reports
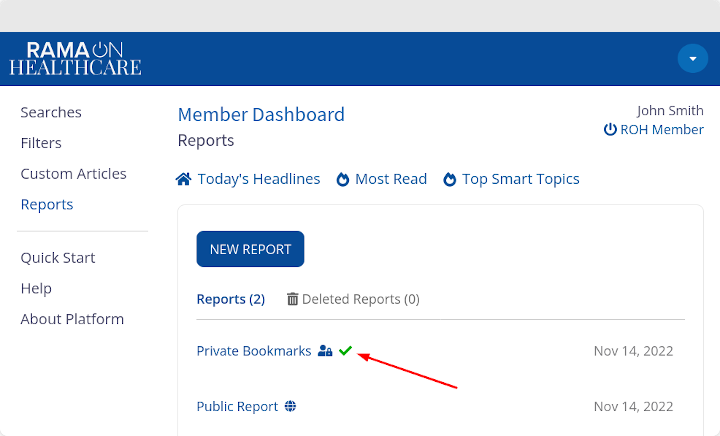
Your account is created with two default reports. One is called “Private Bookmarks”. This is a private list that only you can see. The other report is called “Public Report”, which is a public report that anyone can see.
You may make a report your default report. This report will always be listed first in the “Add/Remove Articles” dialog. The rest of the reports are ordered by date and then by name.
Your default report with a green check will always be listed first
Tap on a report name or hover over the report name with your mouse or other pointing device to see a menu of options for each report.
You may view, edit, or delete a report. You may also copy the link for sharing the report.
Deleting a report will send it to the “Deleted Reports” tab at the top of the list. You may click the “Deleted Reports” tab. When you tap or hover of the report name in the tab, you have the option to restore or permanently delete the report. You may also click the “Empty Trash” button at the bottom to delete all the reports in this tab.
A privacy icon will appear next to the report name to let you know if it is private or public.